Years ago, when I worked on my first keyboard‑emulation project, I used a Teensy microcontroller. It was a great experience, and the Teensy performed perfectly — but it was overkill: too powerful and a little too pricey.
Nowadays, there’s no shortage of microcontrollers that can emulate a keyboard or mouse. I recently got my hands on an Arduino Pro Micro clone, which I bought from AliExpress for about US$5 (shipping included). There are even cheaper options out there, but I haven’t had the chance to play with them yet. 😊
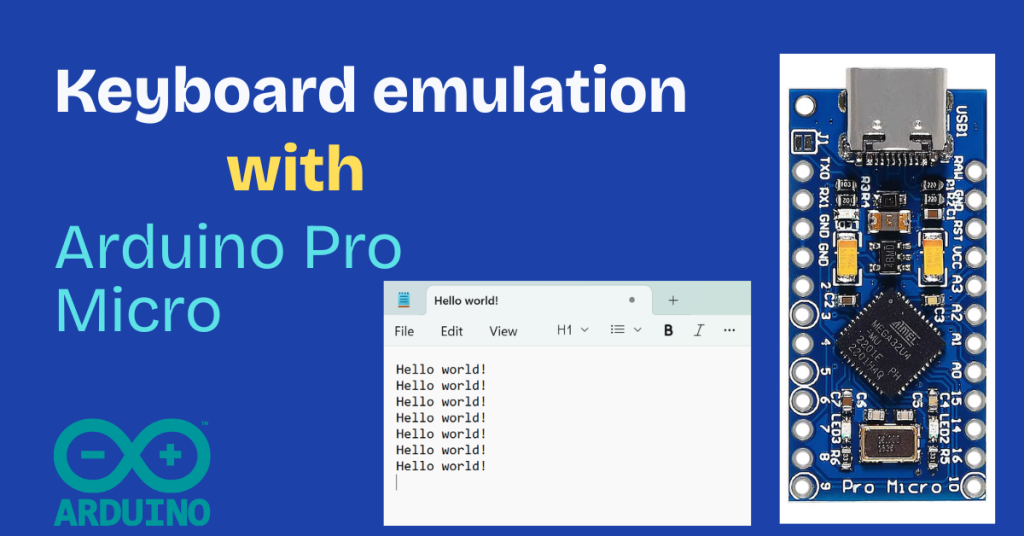
What Is an Arduino Pro Micro?
The Arduino Pro Micro is built around the ATMEGA32U4 chip. This chip is what allows it to behave like a HID — a Human Interface Device.
Using the Arduino IDE (for simplicity, though it’s not strictly required), you can program it to act like a keyboard or mouse. Your wish is the Arduino’s command!
Why Keyboard Emulation?
I’m glad you asked! 😊
There are plenty of interesting use cases, but let me start with a personal one. Once upon a time, I wanted to automate the login sequence on my Windows laptop.
[MCU plugged into laptop]
Keystrokes: CTRL + ALT + DEL
MCU waits 1 second
Keystrokes: <my username>
Keystrokes: TAB
Keystrokes: <my password>
Keystrokes: ENTER
[Windows displays welcome screen]
A bit of backstory:
Our system admins enforced a very strict password policy. Passwords had to be very complex and changed frequently. I followed the rules for a while but grew tired of typing long, strong passwords several times a day.
That’s when keyboard emulation came to my rescue — and life hasn’t been the same since. 😊
What Do We Need?
To build a simple keyboard emulator, you’ll need:
- 1 × Arduino Pro Micro (or clone)
- 1 × USB‑C or Micro‑USB cable (depending on your board)
- Arduino IDE
Installing the Arduino IDE
Head over to the Arduino website, download the Arduino IDE, and install it if you haven't already. The process is straightforward, and installers are available for Windows, macOS, and Linux. My examples use Windows.
Driver Installation
In most cases, the Arduino Pro Micro drivers are installed automatically when you install the Arduino IDE. I didn’t get any prompts for additional drivers. If your experience differs, feel free to reach out.
Wiring It Up
This part is simple: plug in your Arduino Pro Micro using the USB cable. That’s all the wiring required.
Then head over to Device Manager, and you should see a new port listed under Ports.
Writing the Code
Here’s a simple sketch that prints “Hello world!” every 5 seconds.
#include <Keyboard.h>

unsigned long previousMillis = 0;
const unsigned long interval = 5000;

void setup() {
  // Initialize the Keyboard library
  Keyboard.begin();
}

void loop() {
  unsigned long currentMillis = millis();

  if (currentMillis - previousMillis >= interval) {
    previousMillis = currentMillis;

    // Send "Hello world!" keystrokes
    Keyboard.println("Hello world!");
  }
}
Understanding the Code
The core logic revolves around these three lines:
#include <Keyboard.h>Imports the keyboard library.
Keyboard.begin();Initializes the keyboard functionality.
Keyboard.println("Hello world!");Sends keystrokes for whatever text is inside the quotes.
Pro tip: Try Keyboard.print() instead of println() and observe the difference.
The timing logic ensures the phrase is sent every 5 seconds.
You might wonder why I avoided delay(). It turns out delay() can interfere with HID emulation and should generally be avoided.
Flashing the Code
Make sure the correct board and port are selected in the Tools menu.
Click Upload, open a Notepad window, and click inside it.
When the upload completes, you’ll see “Hello world!” being typed automatically every 5 seconds — until you unplug the Arduino Pro Micro.
More Use Cases
Beyond login automation, here are some fun ideas to experiment:
- Custom Gaming Controller - Build a small device with buttons that trigger key combos or mouse moves.
- Macro Recorder - Record keyboard/mouse sequences and replay them with one button press.
- Custom Keyboard Layout - Create a personalized layout with extra keys or remapped keys.
- Media Control Device - Simulate volume, playback, and other media controls.
- Text Expander - Trigger commonly used phrases (signatures, snippets) with a simple button press.
Conclusion
This project is not only fun but incredibly versatile. You now have everything you need to recreate my “login sequence” automation — and plenty of ideas to build on it.
Buckle up and let your imagination fly!
Happy coding!
Feel free to reach out if you need any help. 😊
Good info! 👍🏻